Thursday, December 8, 2011

Tip-Tomato Paste


Just a quick tip!

I'm sure many people do this, so I'm not claiming the idea.

Several of my recipes ask for just a tablespoon or two of tomato paste. I used to open a can and leave the rest in the fridge, intending to use it at some point (and then it always went to waste).

Now I scoop the remainder of the paste out onto a plate using my cookie scoop . I put the plate in the freezer, and when the blobs of paste are hard enough, put them together in a baggie or freezer container. Each scoop is just about 2 tablespoons. So, when I only need a small quantity in another recipe, I just get a scoop out of the freezer!

Kitchen Tip-Tomato Paste


Just a quick tip!

I'm sure many people do this, so I'm not claiming the idea.

Several of my recipes ask for just a tablespoon or 2 or tomato paste. I used to open a can and leave the rest in the fridge, intending to use it at some point (and then it always went to waste).

Now I scoop the remainder of the paste out onto a plate using my cookie scooper. I put the plate in the freezer, and when the blobs of paste are hard enough, put them together in a baggie or freezer container. Each scoop is ABOUT a tablespoon, so when I need to use a T. or 2 in a recipe the next time, I just get them out of the freezer!


DISCLOSURE: This post may contain affiliate links. I'm eligible to receive a small commission whenever a product is purchased through these links. Click Here for my full disclosure!

Sunday, December 4, 2011

Honey Gingerbread Cookies


I've always loved gingerbread cookies. For some reason they always taste best if they are cut into gingerbread boy or girl (or ninja!) shapes--biting off a head or leg creates more satisfaction than it probably should.

Gingerbread recipes vary greatly in texture, color, and spice. I remember some very strong gingerbread from my childhood (I think my great-aunt Myra made the ones I am thinking of), and I loved the pungent bite.

Not everyone is into strong and bitey gingerbread, including my family.  I found a milder recipe that includes the warm sweetness of honey. I tweaked the recipe slightly, and now the family has discovered the gingerbread love.

These cookies are gingery, but mild, and so incredibly tasty! They are fun to make because they require you to dig your hands right in. The texture in the finished cookie is flaky and crisp, and reminds me of shortbread.

The cookies are awesome on their own, but if you want to glaze them, this recipe for royal icing is perfect.


Honey Gingerbread Cookies                       Print Here

delicious and mild gingerbread that everyone will love!

1/2 c. sugar
3 c. all purpose flour
2 t. baking soda
1/2 t. salt
2 t. ground ginger
2 t. cinnamon
1/2 t. ground cloves
1/2 t. ground nutmeg
1 c. butter, cut into dots and brought to room temperature
1/2 c. honey

Combine sugar, flour, soda, salt and spices. Cut dry ingredients into butter with pastry blender. You can work the ingredients together with your fingertips if you do not have a pastry blender. Add honey and stir until well blended.

Cover bowl and refrigerate for at least one hour. Line a baking sheet with parchment paper, or lightly oil with coconut oil.

When dough is chilled, heat oven to 350 degrees. On lightly floured surface, roll the dough out about 1/8 in. thick. (I have found it's helpful to take a handful of dough and spend a minute mashing it together into a ball before rolling it out. The dough will seem crumbly until you do this.) Use cookie cutters to cut out shapes and move the cookies to prepared baking sheet. Bake 10-12 minutes, or until just golden at the edges.

Leave plain...OR decorate with royal icing when cooled! Either way, these cookies will disappear, fast.


Wednesday, November 30, 2011

Perfect Pizza Dough

A double batch makes 4 nice individual pizzas

This is my GO TO dough recipe. I like trying different recipes, but this is the one I love the best. One of the best things about this dough is how easily it rolls out. It doesn't 'bounce back' like most pizza doughs do when you're trying to roll it out. And it doesn't stick to the table. This is VERY good when you like your pizza crust nice and thin. Look at how thin this dough gets! When baked it is the perfect combo of thin and crisp, yet chewy inside.

You don't have to roll it out this thin, but it's nice having the option. :)


I don't use the special pan they ask for in the recipe. I use a regular cookie sheet and take the pizzas off immediately to cool on a rack. One recipe makes one 12 inch pizza, or 4 mini pizzas (our favorite way to do it for lunch!). I usually have to double the recipe to feed the family. I included tripled and quadrupled measurements in the recipe for my own convenience, in case I need more for guests. ;)


Perfect Pizza Dough
(adapted from Shape Magazine)

                                              x 3                 x 4
1/2 c. bread flour                (1.5 c.)....         (2 c.)
1/2 c. whole wheat flour      (1.5 c.)....         (2 c.)
3/4 t. active dry yeast          (2 1/4 t.)...        (3 t.)
1/4 t. salt                             (3/4 t.)....         (1 t.)
1/2 t. sugar                          (1 t.)...             (1 1/2 t.)
6 T. cold water                    (1 c. + 2 T.)... (1 1/2 c.)
1 T. olive oil (optional, but I really love adding it)

In a large mixing bowl, combine dry ingredients, then create a well in the center and add the water. Using your hands, gently combine dough for about 3 to 4 minutes, or until it comes together.

Move dough to a lightly floured surface; knead for 10 minutes of until firm and smooth. Form into a ball. Cover with a clean dish towel; let rest for 5 minutes.

Using a rolling pin, roll out dough to form an 11 inch circle; place on a round metal pizza pan with small holes so the dough just reaches but doesn't overlap the edges. Let rest for 45 minutes before adding toppings.

Add your toppings and bake at 450 degrees for 7-10 minutes.

Friday, November 25, 2011

Friday, November 4, 2011

The Reading Corner-- Organic Gardening for Kids


Geared more toward the older kids (ages 6 and up), but with great pictures the little ones will also enjoy, this book gives the basics of organic gardening: taking care of the soil, watering, weeding, pest control, and lots of tips on mapping out plants. My favorite part of the book is the recipe for natural insect repellent. During our first summer of gardening, we never did have insect problems bad enough to warrant a spray, but we copied the recipe down for future reference!


Run to your local library and check it out!
Or click below to find your own copy.


DISCLOSURE: This post may contain affiliate links. I'm eligible to receive a small commission whenever a product is purchased through these links. Click Here for my full disclosure!

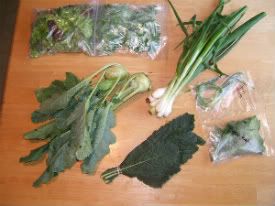
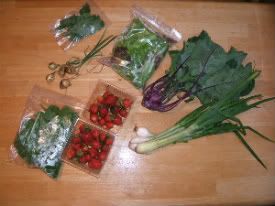
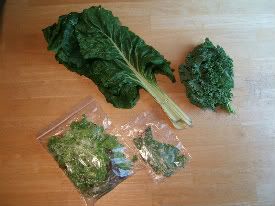
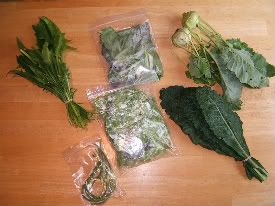
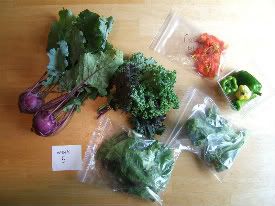
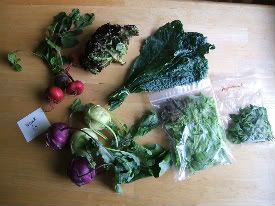
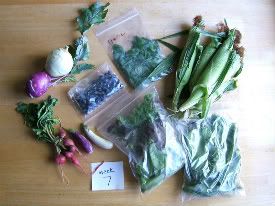
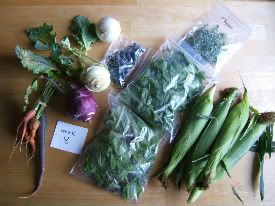
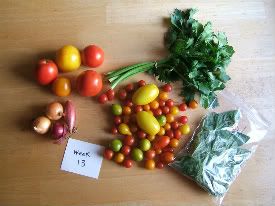
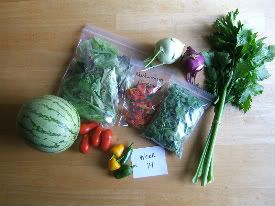
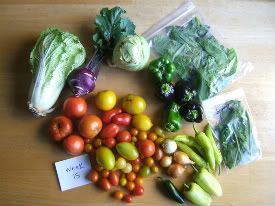
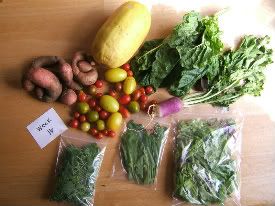
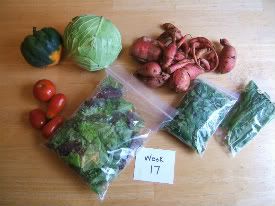
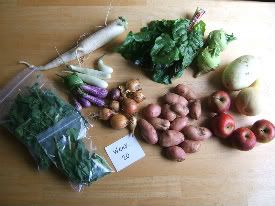
20 Weeks of CSA

I cannot believe how quickly my first CSA (Coummunity Supported Agriculture) share passed me by! Back in April, when I paid for a twenty-week share of produce, the weeks seems to stretch out in front of me like a lovely dream. I looked forward to almost half a YEAR of weekly pickups of fresh, local, organically grown food.

Just like all things in life, the time slipped through my fingers, and my 'summer share' came to an end. All through the summer months and early fall we had some amazing food! I have long prided myself in being a true veggie lover, but there were things I tasted that I had never even heard of before my CSA experience. Daikon radish, sorrel, and lemon balm, for example. I scoured the internet and the CSA cookbook the farmer gave me for tips and recipes. As a family we learned to love some new flavors, and as a daycare teacher I was able to share some new foods. (The biggest success by far was the kohlrabi...no one around here can resist the unique crunch!)

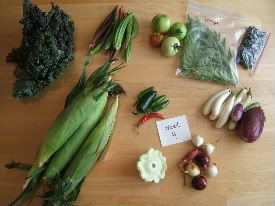
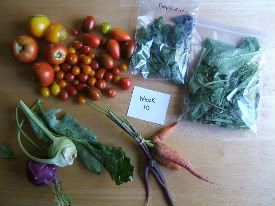
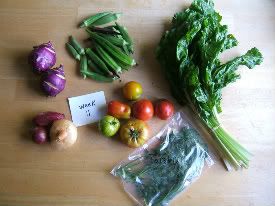
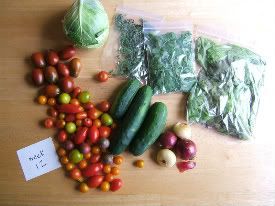
Each Thursday night when I got home with my goodies, I set them up on the kitchen table and snapped a photo. Which, to anyone in my family, doesn't seem the slightest bit odd. I do love my photos. "Oh, mom is standing on a chair taking photos of strategically placed vegetables? Yeah, what else is new?"

So, here are the photos of our 20 weeks of colorful, tasty produce. I can't wait to buy a share next spring!


Monday, October 24, 2011

Our Own Pumpkin Patch

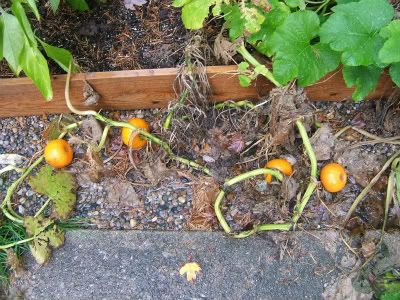
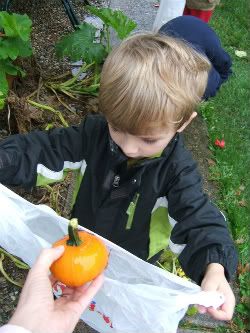
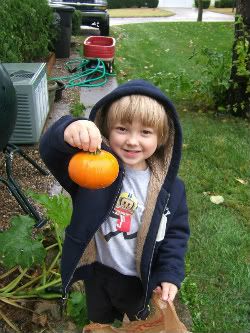
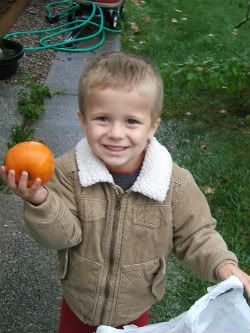
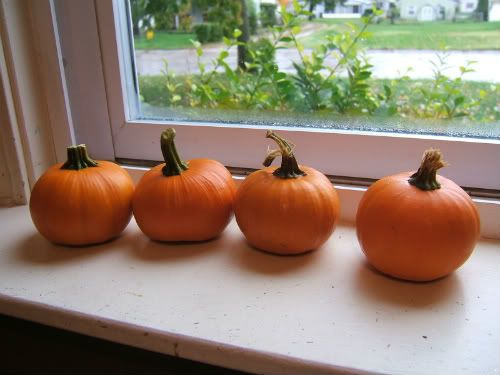
I have a confession to make. This adorable pumpkin patch, with 4 round, tiny, orange pumpkins? Cute, right? And so perfectly coincidental that 4 pumpkins grew when we have exactly FOUR preschool kids enrolled right now, right?


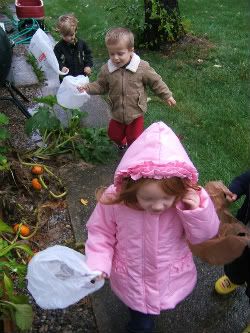
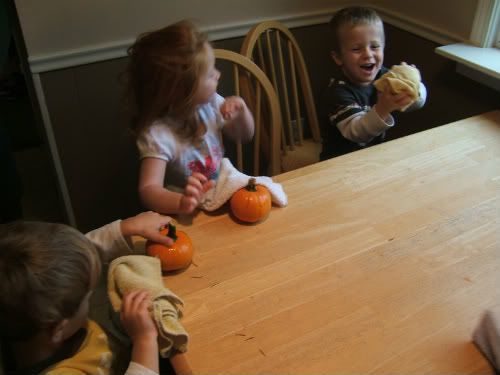
You have to know where this is going. YES, I snuck in a couple pumpkins! Now, two of them are officially, ligitimately OUR pumpkins, grown from last year's jack-o-lanterns. But, we needed four. There really is no good way to divide 2 tiny, adorable pumpkins among 4 children (unless making soup, but these pumpkins were not destined for soup...they were destined to go home with each child). I wanted each preschooler to have a hand in harvesting the 'fruit' of our summer's effort in the garden...especially the pumpkins, since they brought so much excitement as we watched them grow. On one of my grocery trips, I just so happened to find two little pumpkins that I really could not distinguish from those that we grew. I snuck the imposters in, and made a plan with the preschoolers that we were going on a little walk to our 'pumpkin patch'. I was worried that they would notice (since we've been monitoring those babies for months)...but we were all caught up in the exictement and no one said a word...except WOW! YAY! AWESOME! What is it with kids and pumpkin patches anyway? Oh wait a minute...that was ME yelling WOW! It was contagious; the kids easily caught on.

Here we are on our 'journey' to the pumkpin patch, on a slightly drizzly day. I could not have asked for more animated, excited reactions as we finally cut the pumpkins from their vine.

Tuesday, October 18, 2011

Book Review: Plenty

Here is a great read, chronicling one couple's attempt at eating locally!

My rating: 5 of 5 stars
This is one of several books I've read already that start out with a similar mission: the author sets out on an experimental journey (usually of one year), vowing to eat only foods that come from a certain radius of their home. In other words, to plunge headfirst into the locavore movement to see if it is a feasible goal. Of those that I've read (including my beloved Animal, Vegetable, Miracle), each has its own flavor and personality to add to the genre.


Plenty is definitely worth reading. Written by both Alisa Smith and her partner, James, there are tender moments between the two...and not-so-tender moments as their relationship centers around their eating. They add plenty of personal background stories, and have some great, well researched pages about the history of human beings and food. There are even some deep moments in which James and Alisa question everything about their very lives, which resonates with anyone who is...well, human. I enjoyed the humor, wit, and pure emotion these two willingly expose along their journey.


What I really like about Plenty is that Alisa and James live in a city apartment, with literally just a balcony. After years of waiting, they have a tiny plot in the community garden, but not enough room to grow a significant portion of their own food. It was inspiring to read about their dedication to finding sources of food within their 100 mile limit. Even if, at times, I wondered about all that driving they were doing (trips to the outermost limit of 99 or 100 miles to find food started to become routine). They did make sure to mention that they had a 'tiny' car with great gas mileage.


One of the challenges that really resonated with me was the difficulty they had procuring rice and flour. Lack of local rice was not a huge shock, but not having access to wheat? I commend them for their commitment to their project even when facing this staple loss! While trying to work with other carb sources, and eating LOTS of potatoes, the theme of searching for wheat was recurring. They were close to victory a couple of times: once getting a tubful of wheat from a nearby farmer who had grown a small amount but found it unprofitable. Their precious tub of wheat quickly became an elephant in the room as they began sorting it...and finding they had to separate almost equal parts mouse poop from the wheat berries (which smelled like mouse urine even after being sorted). What a huge effort filled with disappointment! Once Alisa and James finally find a local wheat source, near the end of the book, I nearly cried with joy with them as they baked and feasted.


When not driving to obscure locations, they walked to farmers markets, or, shockingly, rowed to the sea to collect saltwater in order to make their own salt. Yeah, they did that. Everything else in the book was pretty mainstream for collecting/foraging/seeking out local food, but by adding the saltwater story at the end, I saw that they were willing to take great pains to truly obtain their own food in the future, if they suddenly were no longer able to put gas in that tiny car. Which is a skill that I think we should all be thinking about obtaining!


Wednesday, October 12, 2011

Book Review: Grow Great Grub

This is a sweet little book that I wouldn't mind having a copy of!

My rating: 5 of 5 stars
With gorgeous photos, delicious-sounding recipes, and hundreds of handy tips, Gayla Trail leads the reader through a fantastic guidebook on growing food when space is very limited.


What I am most impressed by in this book is that Trail goes into detail about every common vegetable plant you might want to try to grow, and gives specific tips for growing each in containers. Many gardening books are loaded with ideas on helping different plants thrive, but on a big scale. This is a super reference for those whose only option is container or tiny-plot gardening.


At the end of the book she gives a simple tutorial on canning, even including reproducible canning labels, which can be copied from the book, or downloaded from her website, www.growgreatgrub.com. She also offers tips on on drying, freezing and pickling your home-grown food.

Gayla's other website is www.yougrowgirl.com. Love it!

Monday, October 10, 2011

Hasty Harvest

We may have been a little too hasty with our harvest.

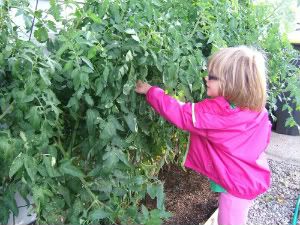
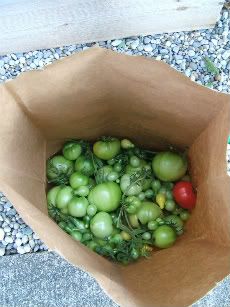
A week ago, on a FRIGID Monday morning, which followed a very cold and windy weekend, we headed out to the garden and harvested ALL the tomatoes and peppers. The tomatoes were mostly green. I was convinced that only cold winds, maybe rain, and lots of frost was going to follow the next few days. Did I check the weather forecast? No. I was going by...intuition? I felt an urgent need to go and rescue our beloved veggies. I imagined that if we did not get the peppers and tomatoes inside, they would succomb to disease, blossom end rot..or maybe even get eaten by hungry animals. I was determined to save the harvest!

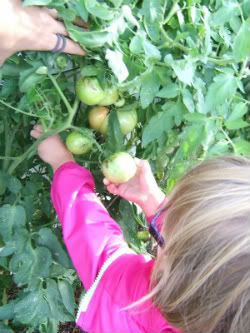
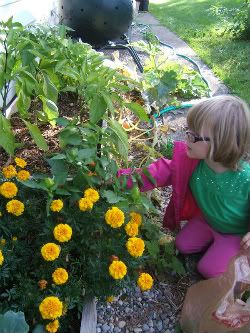
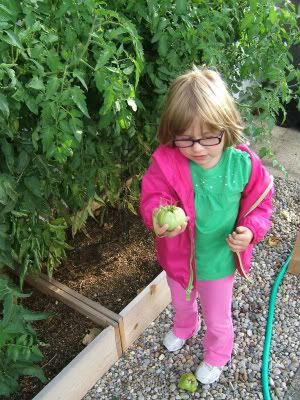
I was wrong. A week (and counting) of gorgeous, 80 degree, sunny weather followed. All the tomatoes may have had a fighting chance to ripen on the vine! But instead, Lily and I harvested every single last green fruit while the others were at preschool.


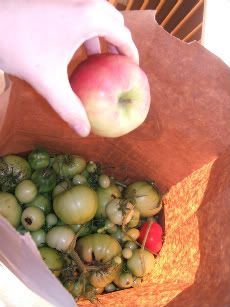
All the tomatoes went into a brown paper bag, with an apple for company. I had read that tomatoes will ripen indoors with this method.


We moved on to every last green pepper, habenero, and jalepeno. The habeneros never got hot, which is one of our garden mysteries (any advice???). They will definitely not go to waste, hot or not. We will use them up like we would red or yellow peppers.


The onions, peas, pumpkins, and kohlrabi were spared our hasty Monday-morning harvest. They continue to do well, and have not seemed to miss their tomato and pepper neighbors as they've basked in the gorgeous sun every day since.