Wednesday, November 30, 2011

Perfect Pizza Dough

A double batch makes 4 nice individual pizzas

This is my GO TO dough recipe. I like trying different recipes, but this is the one I love the best. One of the best things about this dough is how easily it rolls out. It doesn't 'bounce back' like most pizza doughs do when you're trying to roll it out. And it doesn't stick to the table. This is VERY good when you like your pizza crust nice and thin. Look at how thin this dough gets! When baked it is the perfect combo of thin and crisp, yet chewy inside.

You don't have to roll it out this thin, but it's nice having the option. :)


I don't use the special pan they ask for in the recipe. I use a regular cookie sheet and take the pizzas off immediately to cool on a rack. One recipe makes one 12 inch pizza, or 4 mini pizzas (our favorite way to do it for lunch!). I usually have to double the recipe to feed the family. I included tripled and quadrupled measurements in the recipe for my own convenience, in case I need more for guests. ;)


Perfect Pizza Dough
(adapted from Shape Magazine)

                                              x 3                 x 4
1/2 c. bread flour                (1.5 c.)....         (2 c.)
1/2 c. whole wheat flour      (1.5 c.)....         (2 c.)
3/4 t. active dry yeast          (2 1/4 t.)...        (3 t.)
1/4 t. salt                             (3/4 t.)....         (1 t.)
1/2 t. sugar                          (1 t.)...             (1 1/2 t.)
6 T. cold water                    (1 c. + 2 T.)... (1 1/2 c.)
1 T. olive oil (optional, but I really love adding it)

In a large mixing bowl, combine dry ingredients, then create a well in the center and add the water. Using your hands, gently combine dough for about 3 to 4 minutes, or until it comes together.

Move dough to a lightly floured surface; knead for 10 minutes of until firm and smooth. Form into a ball. Cover with a clean dish towel; let rest for 5 minutes.

Using a rolling pin, roll out dough to form an 11 inch circle; place on a round metal pizza pan with small holes so the dough just reaches but doesn't overlap the edges. Let rest for 45 minutes before adding toppings.

Add your toppings and bake at 450 degrees for 7-10 minutes.

Friday, November 25, 2011

Friday, November 4, 2011

The Reading Corner-- Organic Gardening for Kids


Geared more toward the older kids (ages 6 and up), but with great pictures the little ones will also enjoy, this book gives the basics of organic gardening: taking care of the soil, watering, weeding, pest control, and lots of tips on mapping out plants. My favorite part of the book is the recipe for natural insect repellent. During our first summer of gardening, we never did have insect problems bad enough to warrant a spray, but we copied the recipe down for future reference!


Run to your local library and check it out!
Or click below to find your own copy.


DISCLOSURE: This post may contain affiliate links. I'm eligible to receive a small commission whenever a product is purchased through these links. Click Here for my full disclosure!

20 Weeks of CSA

I cannot believe how quickly my first CSA (Coummunity Supported Agriculture) share passed me by! Back in April, when I paid for a twenty-week share of produce, the weeks seems to stretch out in front of me like a lovely dream. I looked forward to almost half a YEAR of weekly pickups of fresh, local, organically grown food.

Just like all things in life, the time slipped through my fingers, and my 'summer share' came to an end. All through the summer months and early fall we had some amazing food! I have long prided myself in being a true veggie lover, but there were things I tasted that I had never even heard of before my CSA experience. Daikon radish, sorrel, and lemon balm, for example. I scoured the internet and the CSA cookbook the farmer gave me for tips and recipes. As a family we learned to love some new flavors, and as a daycare teacher I was able to share some new foods. (The biggest success by far was the kohlrabi...no one around here can resist the unique crunch!)

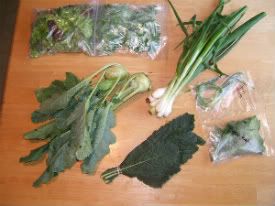
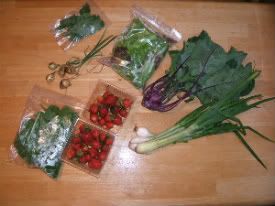
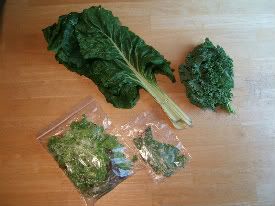
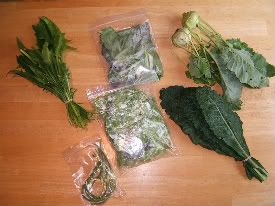
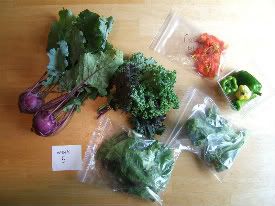
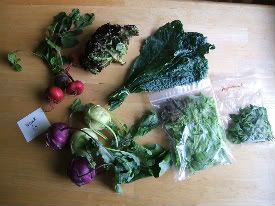
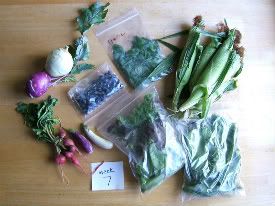
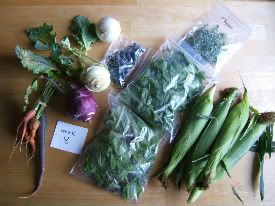
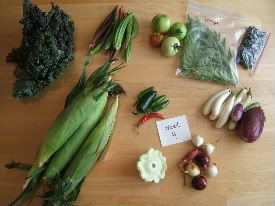
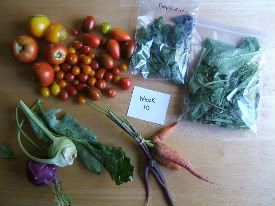
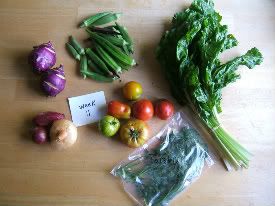
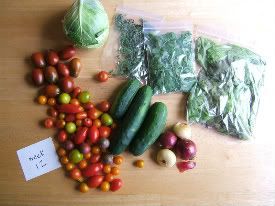
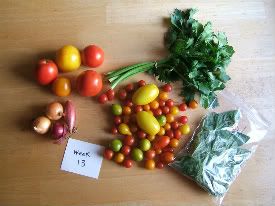
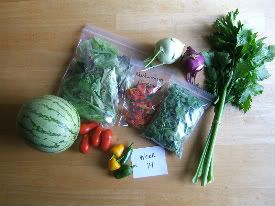
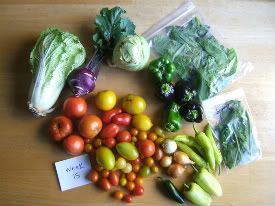
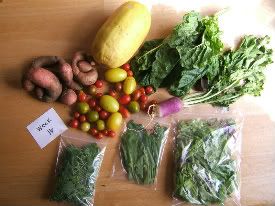
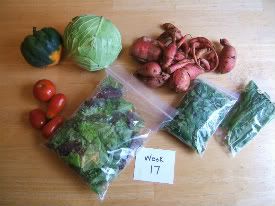
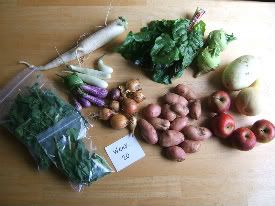
Each Thursday night when I got home with my goodies, I set them up on the kitchen table and snapped a photo. Which, to anyone in my family, doesn't seem the slightest bit odd. I do love my photos. "Oh, mom is standing on a chair taking photos of strategically placed vegetables? Yeah, what else is new?"

So, here are the photos of our 20 weeks of colorful, tasty produce. I can't wait to buy a share next spring!